


Upgrade Your Living Space with a Custom DIY TV Frame
Your television doesn’t have to dominate your room like an unsightly black rectangle. With a simple DIY TV frame project, you can seamlessly integrate your screen into your home’s design scheme while adding character and warmth to any space.
This affordable solution costs a fraction of buying expensive framed TVs, yet delivers professional-looking results that guests will admire.
Creating a custom frame allows you to match your existing decor perfectly, whether you prefer rustic farmhouse charm, sleek contemporary lines, or classic traditional styling.
Best of all, this weekend project requires only basic woodworking skills and common tools you likely already own.
Ready to give your entertainment center a stunning makeover? Follow our comprehensive guide to build a beautiful DIY TV frame that transforms your viewing experience.
Materials and Tools You’ll Need
|
Basic Materials |
Tools Required |
|
Wood trim or boards (pine, MDF, or reclaimed wood) |
Measuring tape |
|
Wood glue or construction adhesive |
Miter saw or hand saw |
|
Screws or nails |
Power drill or screwdriver |
|
Wood filler |
Sandpaper or an electric sander |
|
Paint or wood stain |
Level |
|
Paintbrush or roller |
Wood Options:
- Pine: Budget-friendly, easy to work with, takes paint and stain well
- MDF: Smooth finish, perfect for painted frames, no grain to show through
- Reclaimed wood: Adds character and texture, an environmentally friendly option
Step-by-Step DIY TV Frame Tutorial
Step 1: Measure Your TV
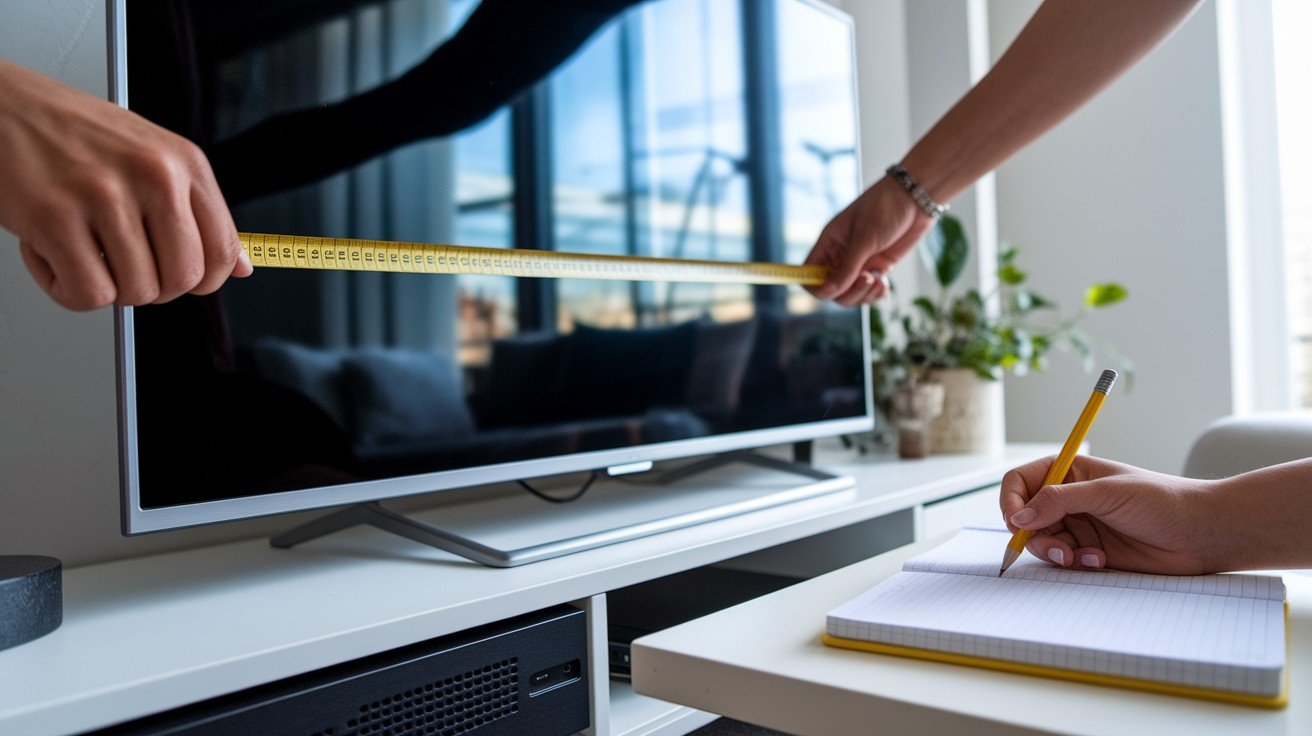
Start by measuring your TV’s outer dimensions, including the bezel. Use a measuring tape to record width and height from edge to edge. Check for protruding buttons, vents, or ports that might affect your frame design.
Add 1/4 inch clearance on all sides to ensure proper fit. Double-check measurements before proceeding to avoid costly mistakes during construction.
Step 2: Cut the Wood Pieces

Cut four pieces of wood based on your measurements – two for width and two for height. For mitered corners, cut each piece at 45-degree angles for a professional look. Straight cuts work too, but require corner brackets.
Use a miter saw for precision or a hand saw with a miter box. Label each piece to avoid confusion during assembly.
Step 3: Sand and Prep the Wood

Sanding creates a smooth surface for paint or stain adhesion while removing splinters and imperfections. Start with 120-grit sandpaper for rough spots, then progress to 220-grit for final smoothing.
Sand with the wood grain, not against it. Wipe clean with a tack cloth to remove all dust particles before applying any finish for best results.
Step 4: Assemble the Frame

Begin with dry fitting to ensure all pieces align correctly. Apply wood glue to joints, then secure with clamps or finish nails. Use a carpenter’s square to verify that corners are perfectly square during assembly. Allow glue to set according to the manufacturer’s instructions.
Fill any nail holes with wood filler, let dry completely, then sand smooth before finishing.
Step 5: Paint or Stain the Frame
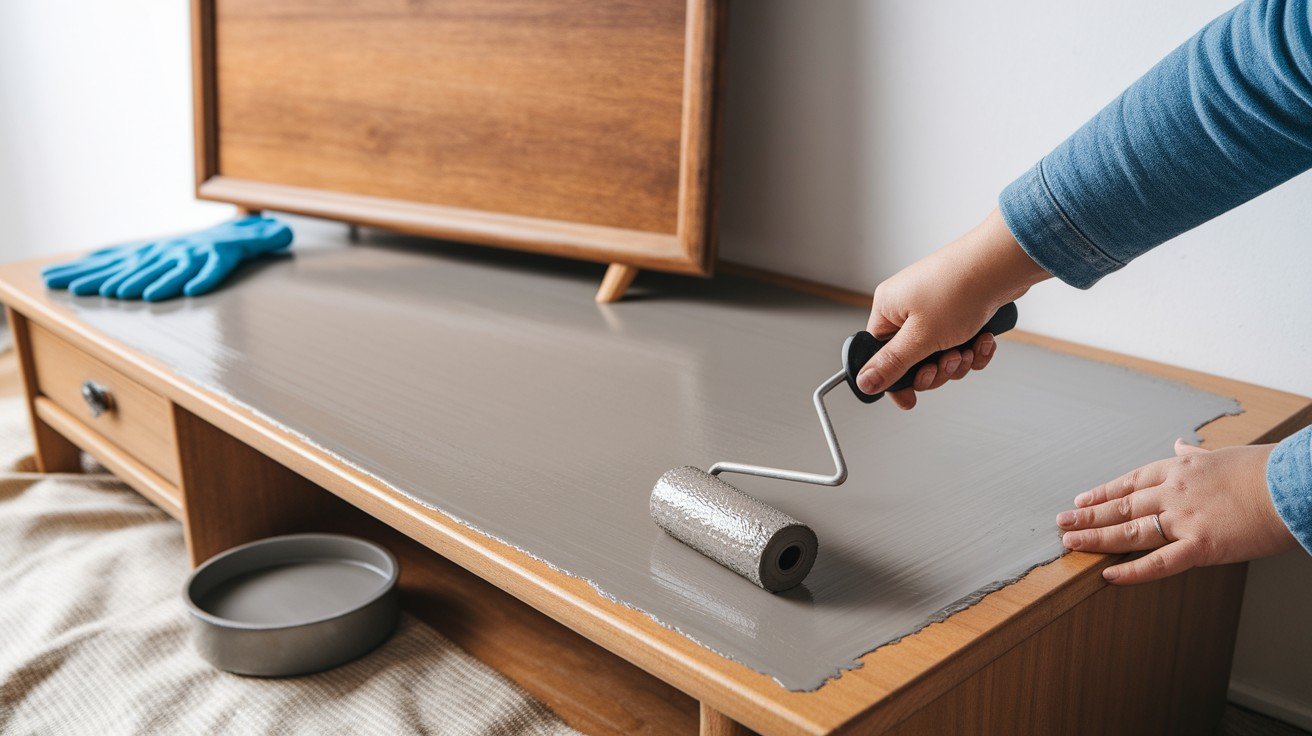
Choose a paint or stain that complements your room’s color scheme. Apply primer first if painting, especially over raw wood. Use thin, even coats rather than one thick application.
Allow proper drying time between coats – typically 2-4 hours for paint, longer for stain. Sand lightly between coats with fine-grit paper for professional results.
Step 6: Attach the Frame to the TV or Wall
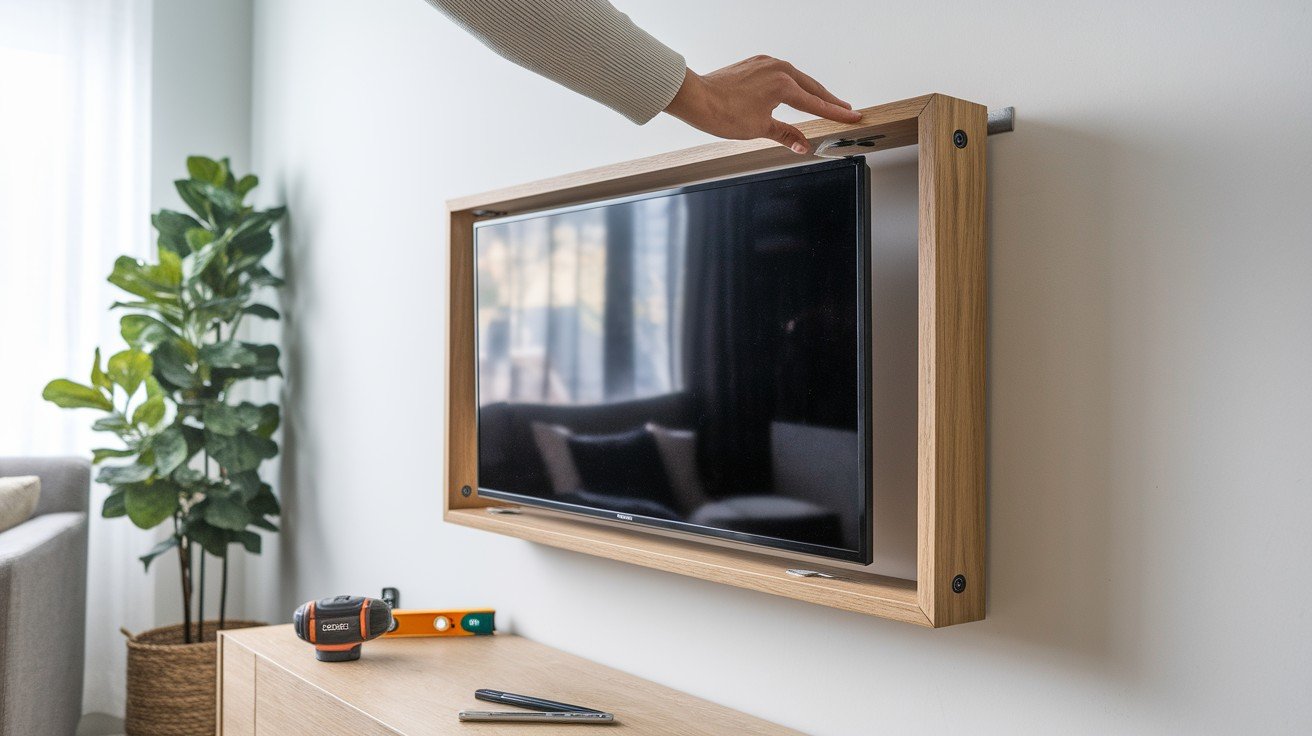
Consider your mounting method carefully. Velcro strips work well for lightweight frames, but ensure TV ventilation isn’t blocked.
For wall-mounted TVs, attach the frame to the wall around the TV. Magnetic or hinged options allow easy access to ports. Always maintain proper airflow around vents to prevent overheating and ensure safe operation.
Common Mistakes to Avoid
Incorrect Measurements The most frequent error is measuring inaccurately or forgetting to account for your TV’s unique features. Always measure twice and cut once. Include bezels, buttons, and any protruding elements in your calculations.
Write down measurements immediately and double-check before purchasing materials. Remember that even small measurement errors can result in a frame that doesn’t fit properly, wasting time and money.
Using the Wrong Type of Adhesive.e Not all adhesives work equally well for different wood types and applications. Construction adhesive works best for permanent installations, while wood glue provides strong bonds for traditional joinery.
Avoid using weak adhesives like craft glue or inappropriate fasteners for your specific wood choice. Research compatibility between your chosen materials and adhesives to ensure a durable, long-lasting bond that won’t fail over time.
Blocking TV Vents or IR Sensors Covering ventilation ports can cause serious overheating issues and void your warranty.
Similarly, blocking infrared sensors prevents remote control functionality. Before finalizing your design, identify all vents, sensors, and ports on your TV. Plan your frame placement to maintain proper airflow and remote access.
Test remote functionality after installation to ensure everything works correctly and your TV operates safely.
Conclusion
Building a DIY TV frame transforms your entertainment space from ordinary to extraordinary while showcasing your style.
This rewarding project proves that professional-looking results don’t require professional prices or advanced carpentry skills.
With basic tools, quality materials, and careful attention to detail, you’ve created a custom solution that perfectly complements your home’s design.
Your newly framed television now serves as both functional entertainment and an attractive decor element. The time invested in proper measuring, cutting, and finishing pays dividends in both appearance and satisfaction.
Whether you choose rustic wood tones, crisp painted finishes, or sleek modern lines, your frame adds warmth and character to the room.
Remember to share your completed project with friends and family. Your success might inspire others to tackle their creative home improvement projects and transform their living spaces, too.
Frequently Asked Questions
What’s the best wood type for beginners?
Pine is ideal for first-time builders – affordable, lightweight, easy to cut, and accepts paint or stain beautifully for professional results.
Can I make a frame for a wall-mounted TV?
Yes, attach the frame directly to the wall around your mounted TV, ensuring proper clearance for vents and easy port access.
How much does this project typically cost?
Most DIY TV frames cost $30-80, depending on wood choice and size, significantly less than purchasing pre-made decorative TV frames.
Do I need advanced woodworking skills?
No, this project requires only basic measuring, cutting, and assembly skills. Beginners can complete it successfully with patience and care.
Will the frame interfere with my TV’s warranty?
Properly installed frames won’t void warranties since they don’t modify the TV itself, just provide decorative surrounding framework for appearance.
