


Synthetic roof underlayment has become a popular choice for homeowners and contractors alike. But it is not without its flaws.
Before you commit to it for your next roofing project, you need the full picture.
This article breaks down 11 real problems with synthetic roof underlayment, explains why they happen, and shows you how to avoid them.
If you are planning a new roof or replacing an old one, this guide will help you make a smarter, more informed decision.
What Is Synthetic Roof Underlayment?

A quick look at what synthetic underlayment is made of and why it is used on roofs today.
Synthetic roof underlayment is a water-resistant barrier installed between the roof deck and the outer roofing material. It is made from polypropylene or polyethylene, both lightweight and durable plastics.
Compared to traditional felt underlayment, synthetic versions are lighter, more tear-resistant, and better suited for wet conditions during installation. They also have a longer shelf life when stored properly.
Synthetic underlayment is used across metal, tile, and asphalt shingle roofs. It acts as a secondary layer of protection if the outer roofing material is ever damaged.
That said, it comes with its own set of problems.
11 Common Problems with Synthetic Roof Underlayment
Knowing these issues upfront can save you time, money, and a lot of frustration down the road.
1. Higher Initial Cost
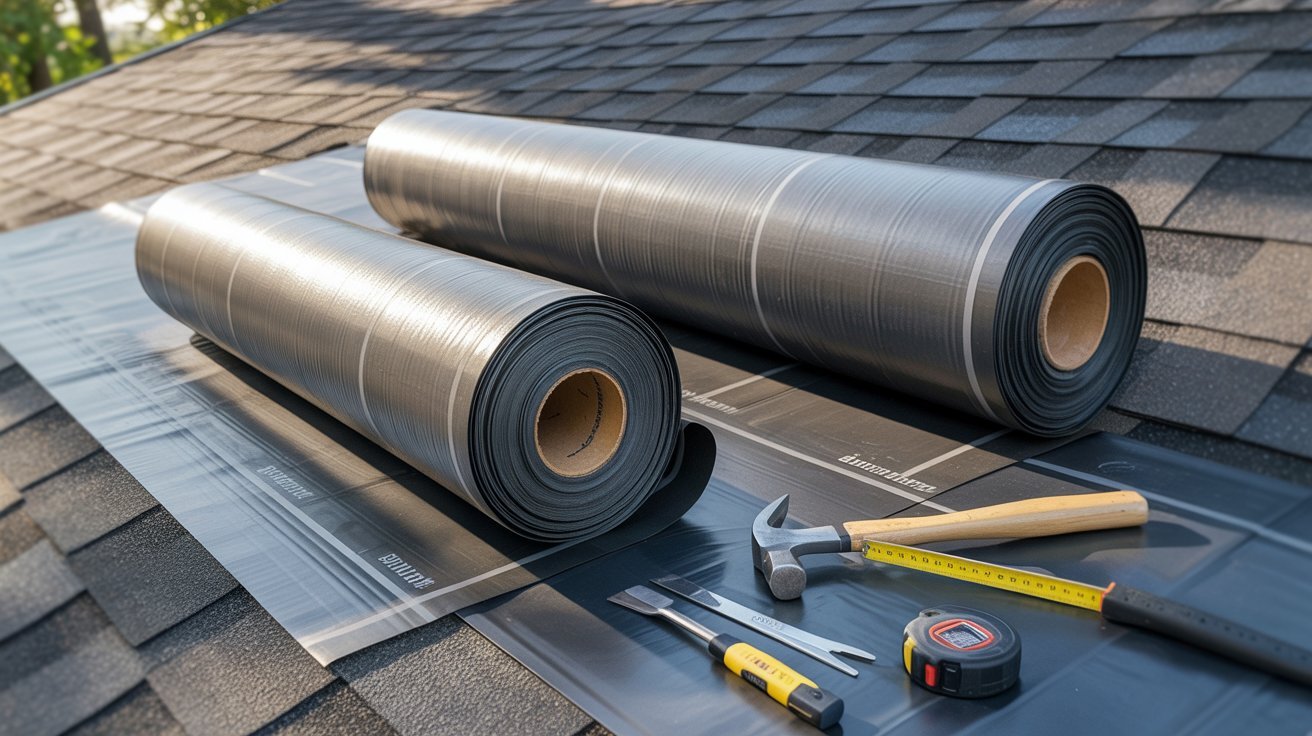
Synthetic underlayment costs more upfront than felt, ranging from $0.15 to $0.40 per square foot. The longer lifespan can make it worth the investment over time.
2. Slippery Surface Risks
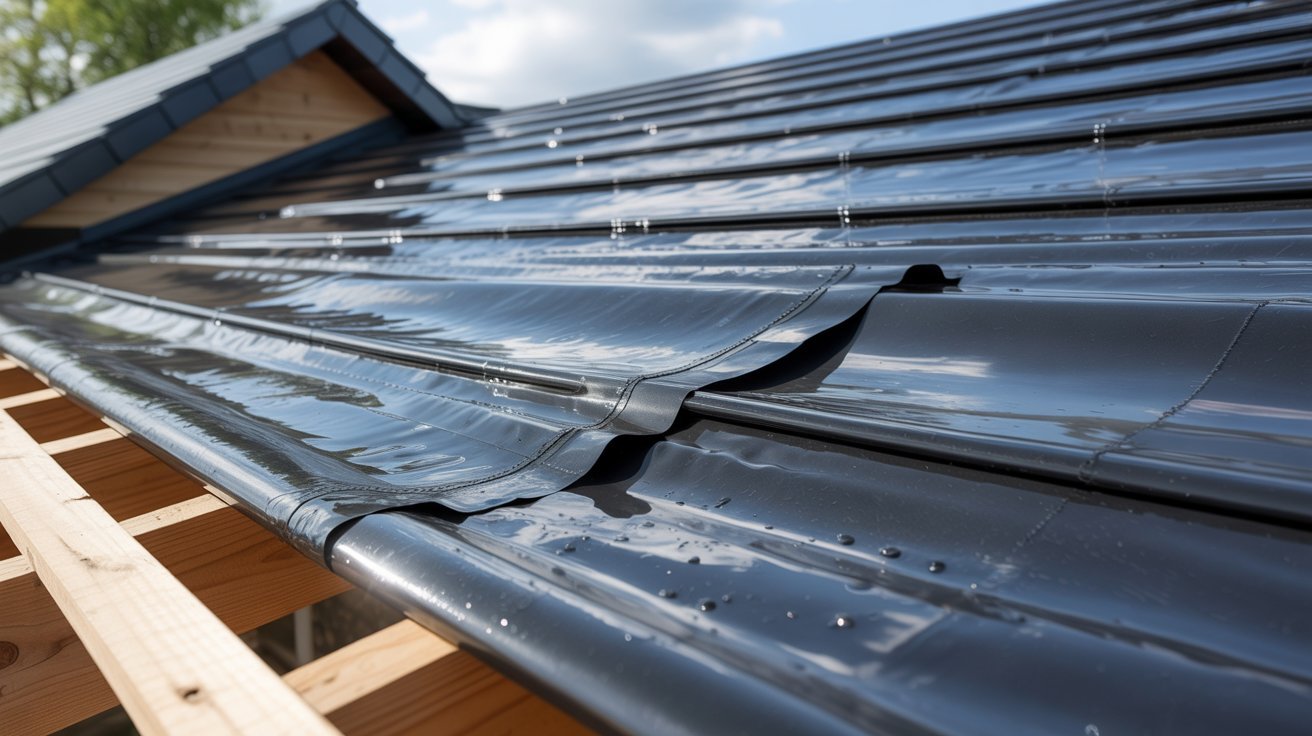
Synthetic surfaces get slippery when wet, posing a safety risk during installation. Always choose textured products and work in dry conditions.
3. Moisture Trapping
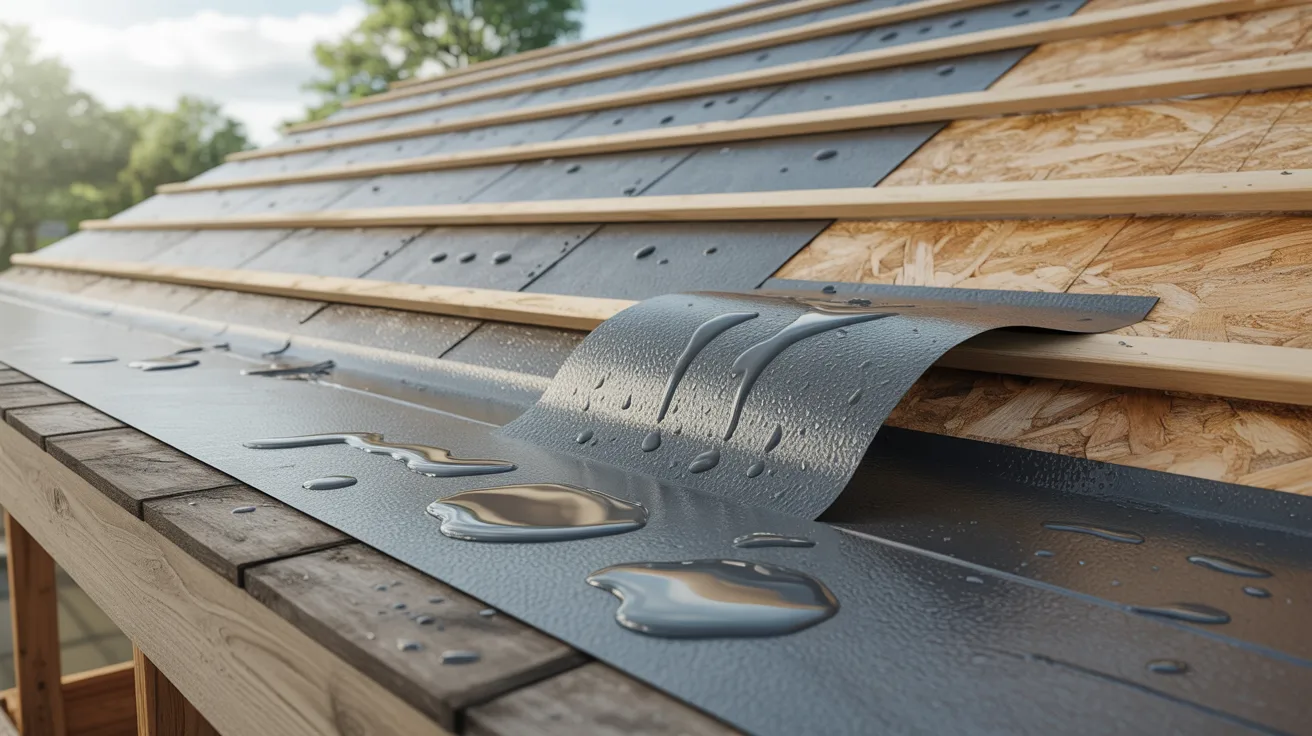
Trapped humid air causes mold, wood rot, and insulation damage. Proper ventilation through ridge vents and soffit vents prevents this.
4. UV Exposure Vulnerability
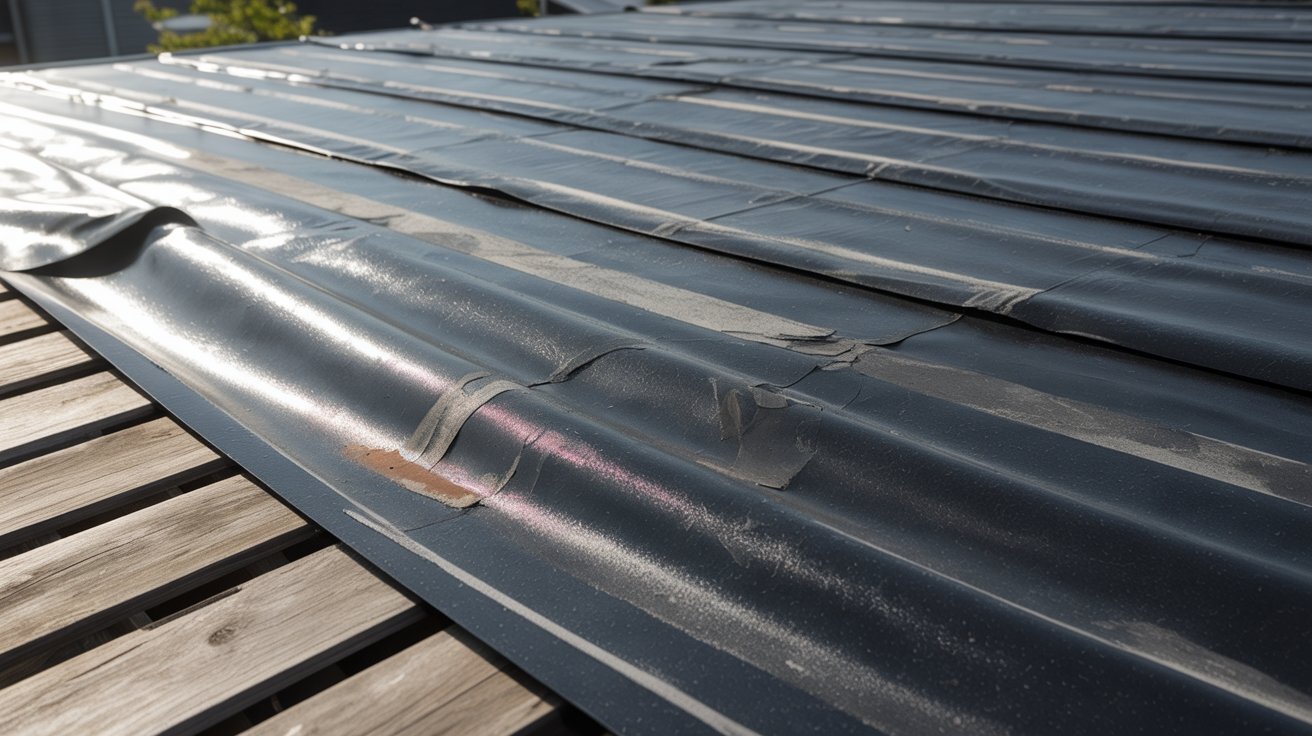
Prolonged sun exposure causes brittleness and cracking. Most manufacturers recommend covering it within 30 to 90 days.
5. Compatibility Issues with Roofing Materials

Not every underlayment works with every roof type. Always check manufacturer guidelines and local building codes before buying.
6. Installation Errors
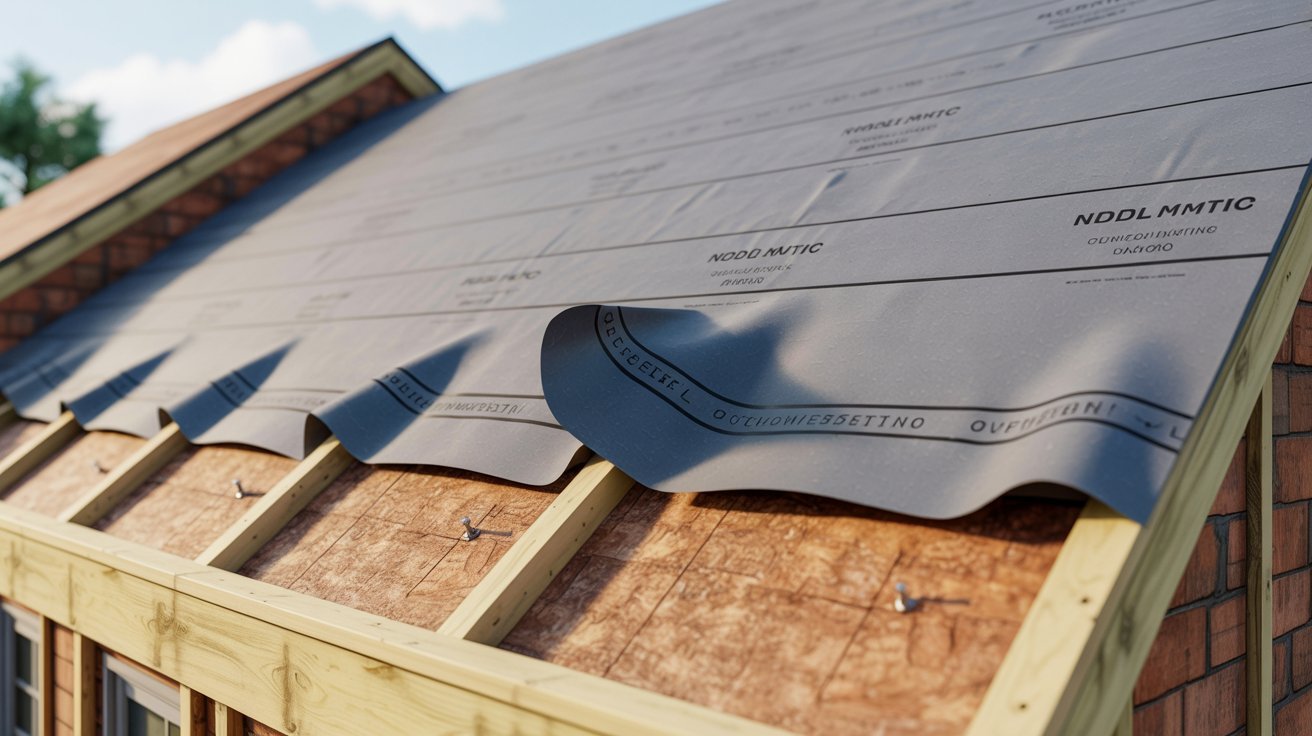
Overstretching, wrong fasteners, or skipping seam tape leads to tears and blow-offs. Always follow the manufacturer’s instructions closely.
7. Misleading Thickness Claims
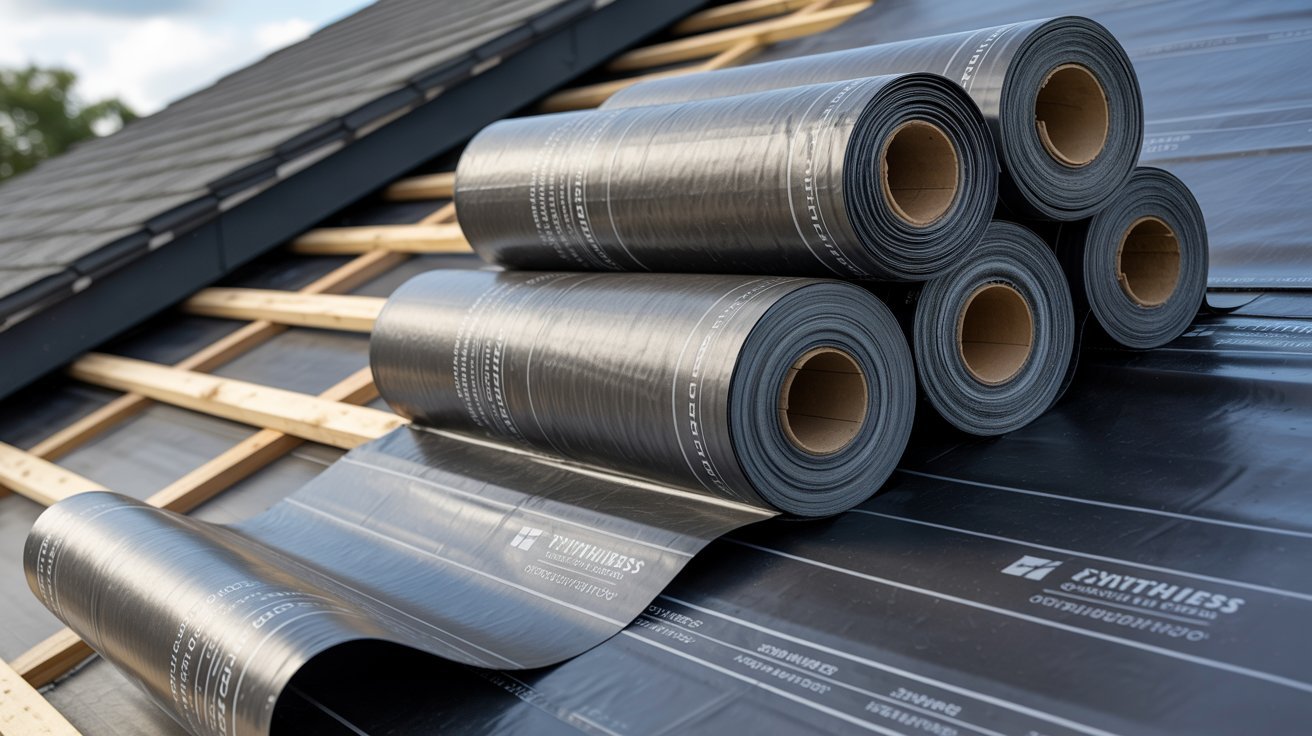
Surface thickness does not equal durability. Look for weight per square as a more reliable measure of product strength.
8. Material Breakdown and VOC Release

Low-quality underlayments lose flexibility and release VOCs over time. Choose third-party certified products with low VOC ratings.
9. Cracking and Blistering in Extreme Temperatures

Harsh temperature swings cause cracking and delamination. Pick products rated from -40°F to 240°F for wide climate ranges.
10. Limited Exposure Time
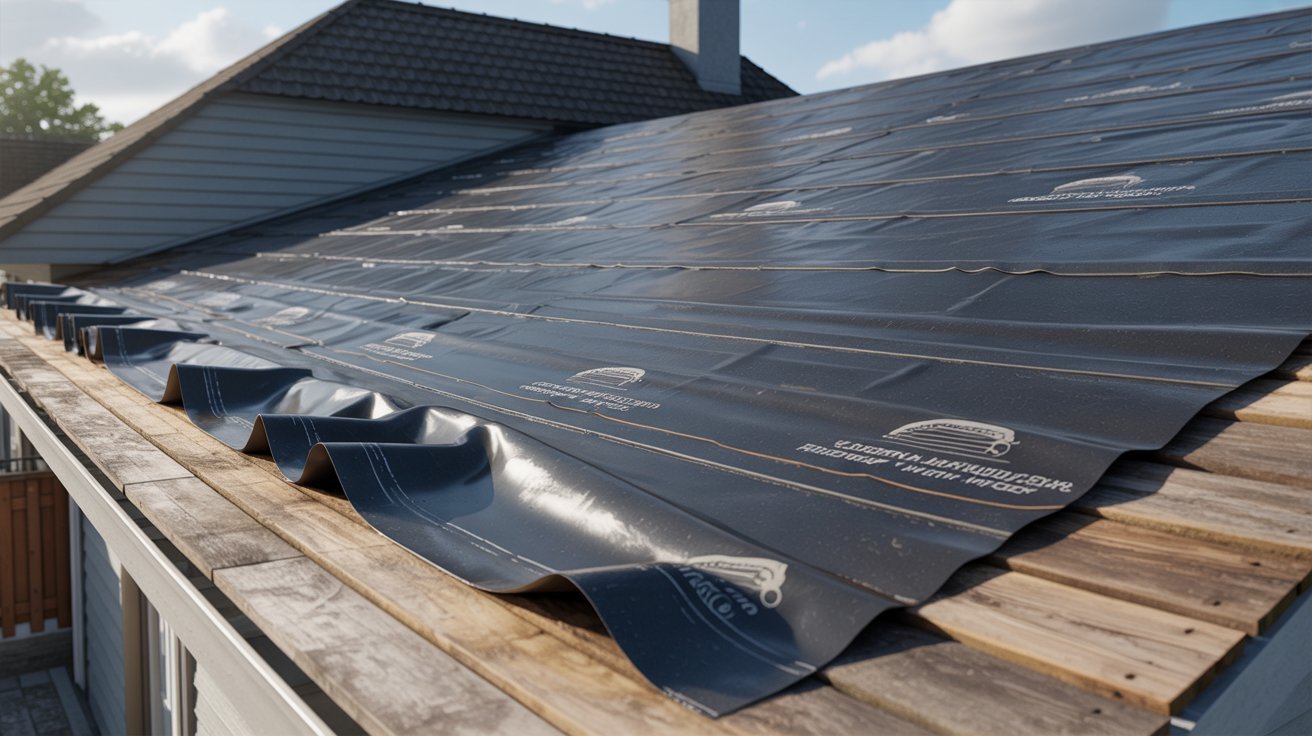
Leaving underlayment exposed too long degrades its moisture barrier. Plan your project timeline to avoid delays.
11. Low-Quality Products Don’t Hold Up
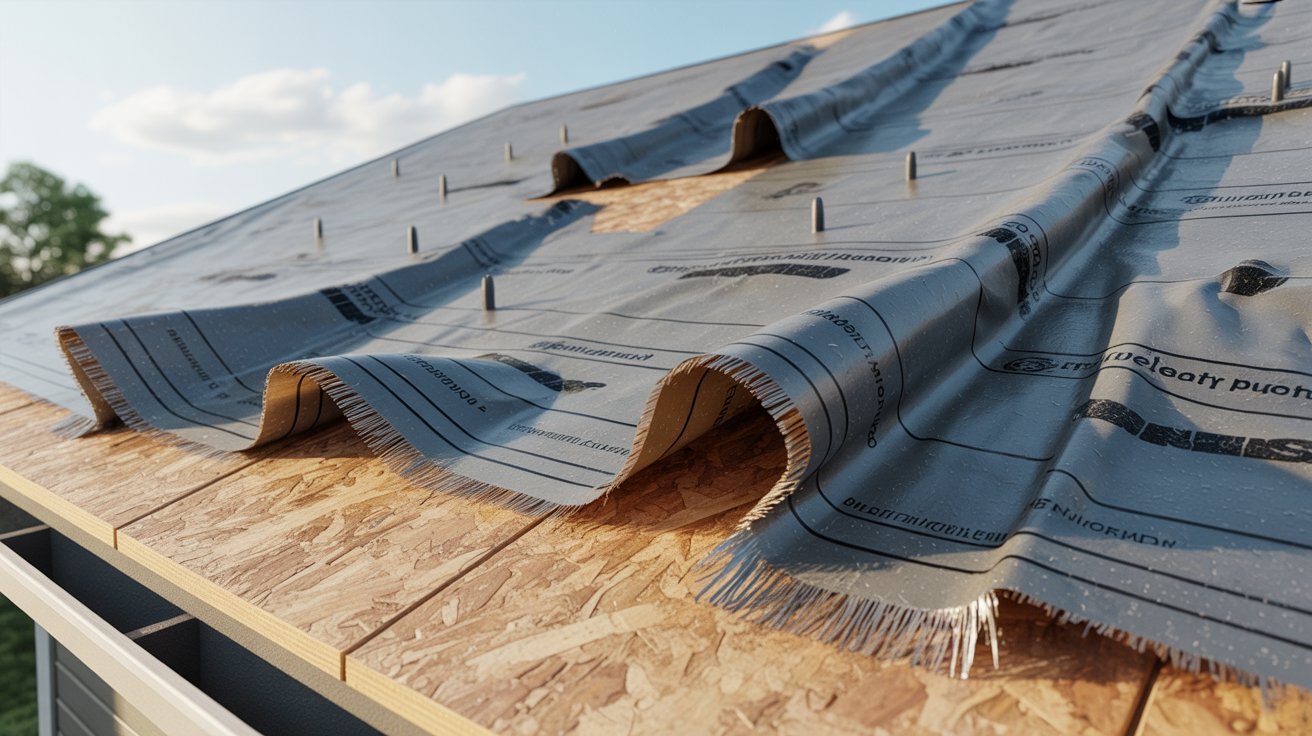
Cheap, uncertified underlayments fail fast. Always look for ASTM or ICC certifications before approving any product.
Best Practices to Avoid Problems
Following the right steps from the start keeps your roof performing well for years.
Choose the Right Product
Pick high-quality, code-compliant synthetic underlayment from a reputable manufacturer. Always confirm compatibility with your specific roofing material before purchasing.
Ensure Proper Ventilation
Make sure proper attic ventilation is in place before installation. Ridge vents, soffit vents, and attic fans all help prevent moisture buildup under the roof.
Install Under the Right Conditions
Work only in dry weather and follow the manufacturer’s installation instructions closely. Hire licensed roofing professionals who have experience with synthetic materials.
Stick to the Exposure Window
Never leave underlayment exposed longer than the manufacturer recommends. Plan your project timeline carefully so outer roofing materials go on without unnecessary delays.
Schedule Regular Roof Inspections
Have your roof inspected every one to two years. Catching small issues early prevents them from turning into costly repairs down the line.
Practical Tips for Using Synthetic Roof Underlayment
Small adjustments during planning and installation can make a big difference in how your roof holds up.
- Read the product data sheet before installation. It covers exposure limits, temperature ratings, and compatible materials.
- Store rolled underlayment upright in a cool, dry place to prevent creasing.
- Use only manufacturer-approved cap nails or staples.
- Overlap rows by at least four to six inches and apply seam tape at all laps.
- Check the weather before starting. Wind can shift or tear unsecured material.
Conclusion
Synthetic roof underlayment works well when chosen and installed the right way. But cutting corners or picking the wrong product can lead to real damage.
I have seen how a rushed installation can undo an otherwise solid roofing job. Most of these problems are avoidable with the right planning and materials.
Take your time, choose quality, and work with people who know what they are doing. If this helped, drop a comment below or share it with someone planning a roof project soon.
Frequently Asked Questions
Are synthetic underlayments worth the cost?
Yes, in most cases. They last longer and perform better than felt in harsh conditions. The higher upfront cost is often offset by fewer repairs over time.
How can you prevent slipping during installation?
Choose underlayment with a textured grip surface and always install in dry conditions. Non-slip footwear and safety harnesses also help on steep slopes.
How can you avoid moisture issues?
Make sure your attic has proper ventilation, including ridge and soffit vents. Good airflow stops warm, humid air from getting trapped under the roof deck.
How vulnerable is synthetic underlayment to UV damage?
Very vulnerable if left exposed too long. Most products degrade within 30 to 90 days in direct sunlight. Always follow the manufacturer’s recommended coverage window.
How can you confirm compatibility with your roofing material?
Check the manufacturer’s compatibility guide before buying. Also review local building codes to confirm the product is approved for your specific roof type.
