


Tired of staring at outdated wallpaper but dreading the removal process?
You’re not alone. Many homeowners face this exact dilemma when wanting to refresh their space. The good news?
Painting over wallpaper can be a smart alternative that saves you time, money, and your sanity.
But here’s the catch: doing it wrong can leave you with peeling paint, visible seams, and a finish that screams amateur hour.
The difference between a professional-looking result and a DIY disaster comes down to proper preparation and technique.
So, can you paint directly over wallpaper and get results that look professionally done? Absolutely; when you know the right steps to take.
In this guide, we’ll walk you through everything you need to know about painting over wallpaper like a seasoned pro, including when it works, when it doesn’t, and exactly how to achieve a flawless finish.
Is It Okay to Paint Over Wallpaper?
The short answer is yes, but only under the right circumstances. Success depends entirely on your wallpaper’s condition, type, and the surface beneath it.
When Is It Acceptable to Paint Over Wallpaper?
You can confidently paint over wallpaper when it’s firmly adhered to the wall with no peeling edges or loose seams.
The surface should be relatively smooth without heavy textures or embossed patterns that would show through paint.
If your wallpaper has been up for years without issues and feels solid when you press against it, you’re likely dealing with a good candidate for painting.
Vinyl wallpaper in good condition often works well since it creates a stable base. Similarly, older wallpaper that’s become part of the wall surface can handle paint application effectively.
When Removal Is the Better Option?
Skip the paint approach if your wallpaper is already peeling, bubbling, or coming loose at the seams. These issues will only worsen under paint, creating an unprofessional finish that may fail.
High-moisture areas like bathrooms and kitchens often spell trouble for painted wallpaper.
The humidity can cause the adhesive underneath to fail, leading to peeling and bubbling months later.
Types of Wallpaper You Can and Cannot Paint
- Can be painted: Smooth vinyl, traditional paper wallpaper in good condition, and lightly textured surfaces respond well to paint when properly primed.
- Cannot be painted: Heavily textured or fabric wallpaper, foil or metallic surfaces, and grasscloth create uneven finishes that look amateur. These materials either don’t accept paint well or create visible texture issues that no amount of paint can hide.
Pros and Cons of Painting Over Wallpaper
Before you grab your paintbrush, let’s weigh the advantages and drawbacks of this approach. Understanding both sides helps you make an informed decision for your specific situation.
Pros
- Less time-consuming and labor-intensive than removal. Stripping wallpaper can take days of scraping, steaming, and cleaning adhesive residue. Painting over it cuts your project time dramatically; often completing the job in a weekend instead of a week.
- Avoids potential drywall damage. Wallpaper removal frequently tears chunks of drywall or plaster, especially in older homes.
- Cost-effective if done properly. You’ll spend significantly less on primer and paint compared to wallpaper removal tools, repair materials, and the potential need for professional help if removal goes wrong.
Cons
- It can look unprofessional if not prepped correctly. Rushing through preparation shows in the final result. Poor priming or inadequate surface prep creates a finish that reveals the simplified process you took.
- Wallpaper seams may show through. Even with proper priming, seam lines can become visible over time, especially in certain lighting conditions or with satin and semi-gloss paint finishes.
- Potential peeling or bubbling if moisture gets trapped. Water-based primers or paint can reactivate wallpaper adhesive, causing the entire system to fail. This problem often appears months after completion.
Factors to Consider Before You Start
Before making your final decision, evaluate these critical factors that determine your project’s success. Each element plays a significant role in the outcome.
| Factor | What to Look For | Green Light Indicators | Red Flag Warnings |
|---|---|---|---|
| Wallpaper Condition | Check for peeling edges, loose seams, tears, or heavy texture | Firmly attached, smooth surface, no visible damage | Peeling corners, loose seams, tears, heavy embossed patterns |
| Wall Surface | Determine if drywall or plaster lies underneath | Solid drywall in good condition | Old plaster walls, previous water damage, soft spots |
| Adhesive Type | Test a small corner to see how easily it lifts | Strong adhesive that doesn’t budge when tested | Water-based adhesive that loosens easily with moisture |
| Room Conditions | Assess humidity levels and moisture exposure | Dry living areas, bedrooms, and low-humidity spaces | Bathrooms, kitchens, basements, and rooms with poor ventilation |
| Timeline & Budget | Consider if this is a quick fix or a permanent solution | Long-term solution with adequate time for proper prep | Rush job or temporary fix with limited budget |
Additional Considerations:
- Age of Installation: Wallpaper installed over 10 years ago typically adheres better
- Previous Paint: If the wallpaper was already painted before, removal becomes more complex
- Lighting: Bright or angled lighting will highlight imperfections more readily
- Future Plans: Consider whether you’ll want to change wall treatments again in 5-10 years
Materials and Tools You’ll Need
Having the right supplies makes the difference between a professional finish and a frustrating experience. Here’s your complete shopping list with quantities and purposes.
| Item | Quantity Needed | Purpose | Pro Tips |
|---|---|---|---|
| Oil-based or Shellac Primer | 1 gallon per 350 sq ft | Seals wallpaper adhesive and prevents bleed-through | Never use water-based primer – it reactivates adhesive |
| Latex or Acrylic Paint | 1 gallon per 400 sq ft | Final color coat (plan for 2 coats) | High-quality paint covers better and lasts longer |
| Painter’s Tape | 2-3 rolls | Protect trim, outlets, and adjacent surfaces | Remove while the paint is still slightly wet |
| Spackle or Joint Compound | 1 quart container | Fill gaps, holes, and smooth seam lines | Get a lightweight formula for easier sanding |
| Sandpaper | 5-10 sheets (120-220 grit) | Smooth repairs and a lightly scuffed surface | Medium grit works best for most situations |
| Putty Knife | 3-inch and 6-inch | Apply spackle and smooth compound | A flexible blade works better than a rigid one |
| TSP or Degreasing Cleaner | 1 box or bottle | Remove dirt, grease, and residue for better adhesion | Essential step – don’t skip the cleaning |
| Paintbrushes | 2-3 brushes (angled and straight) | Cut in edges and detail work | Quality brushes prevent streaking |
| Paint Rollers | 2 roller frames + 4-6 covers | Apply primer and paint to large areas | Use a 3/8″ nap for smooth surfaces |
| Drop Cloths | 2-3 cloth or plastic sheets | Protect floors and furniture | Canvas clothes won’t slip like plastic |
Optional but Helpful:
- Paint tray and liners (2-3 sets)
- Extension pole for rollers
- Small foam brushes for tight spaces
- Spray bottle for misting repairs while drying
Step-by-Step: How to Paint Over Wallpaper Like a Pro
Step 1: Clean the Walls
\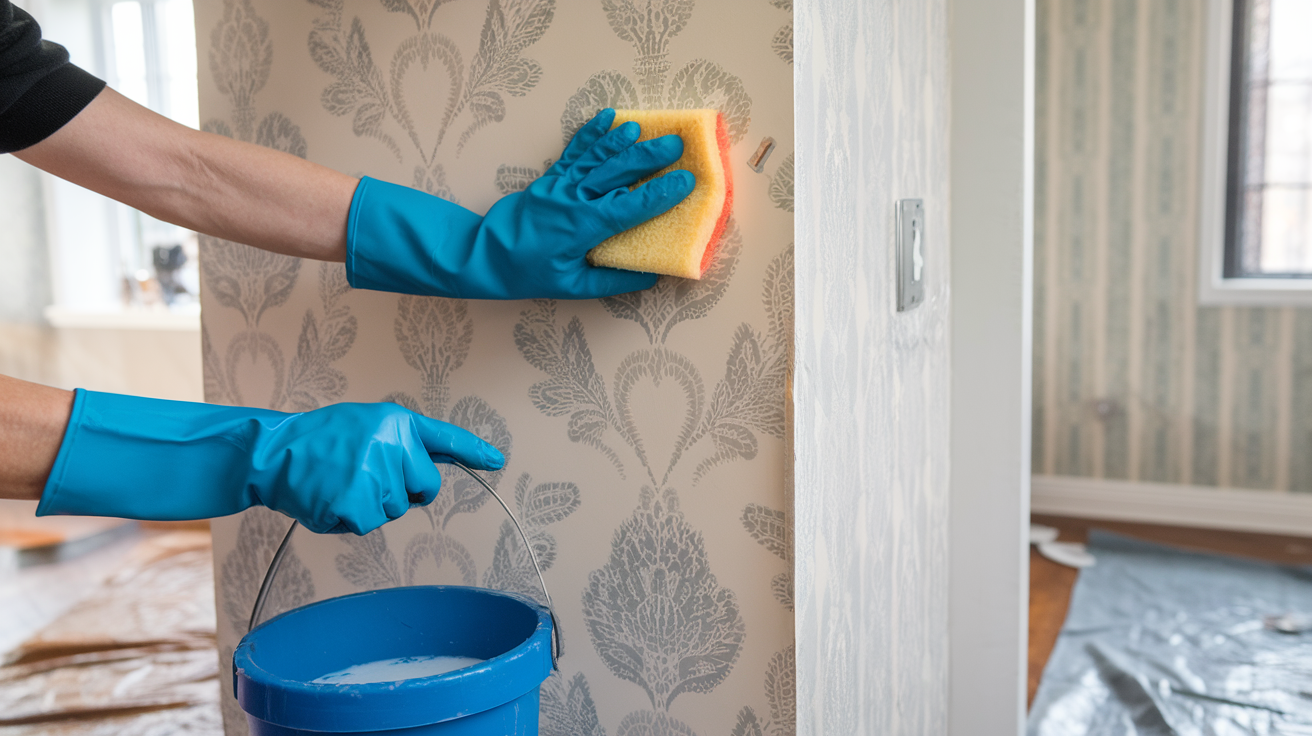
Mix TSP cleaner according to package directions and wash the entire surface with a sponge, working from top to bottom.
Pay special attention to areas around light switches and high-touch zones where oils accumulate.
Rinse with clean water and allow walls to dry completely before proceeding to repairs.
Step 2: Repair Damage
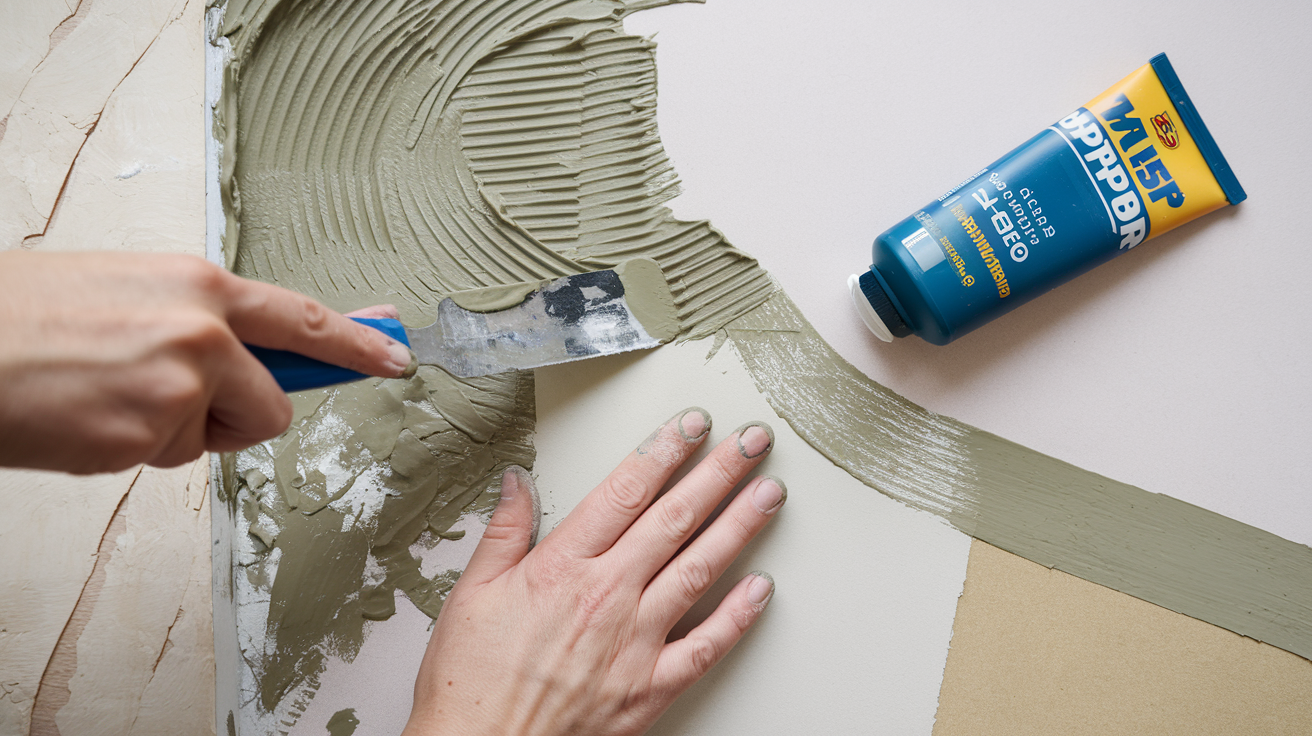
Press down any lifting edges and secure with small amounts of wallpaper adhesive. Fill holes and gaps with spackle using your putty knife, smoothing excess material.
Apply joint compound over visible seams, feathering edges outward. Let all repairs dry according to the manufacturer’s instructions before moving forward.
Step 3: Sand the Surface Lightly

Using 120-grit sandpaper, lightly scuff the entire wallpaper surface to create better adhesion.
Focus extra attention on repaired areas, sanding them smooth and flush with the surrounding surface. Wipe away all dust with a tack cloth or a damp rag. This step ensures your primer bonds properly.
Step 4: Apply an Oil-Based Primer
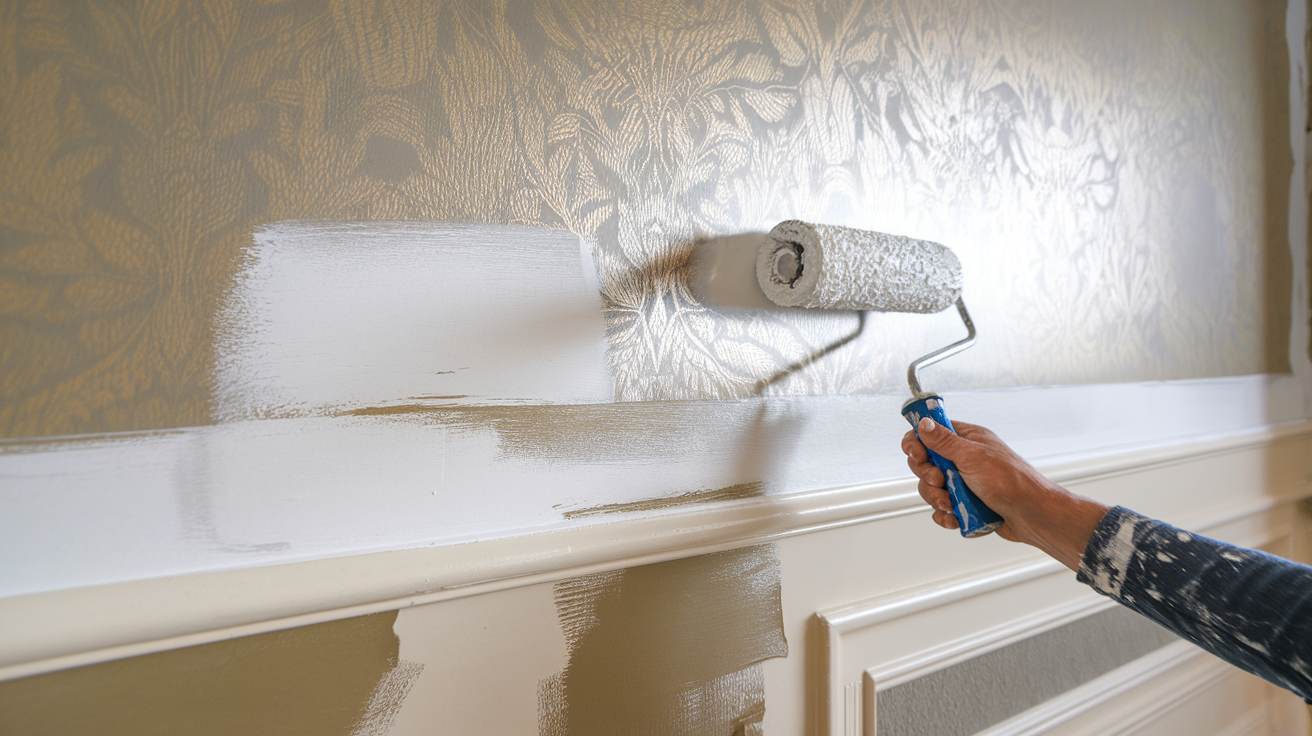
Roll or brush oil-based primer evenly across all surfaces, maintaining a wet edge to avoid lap marks.
Pay careful attention to seams and repaired areas, ensuring complete coverage.
One coat is usually sufficient, but heavily patterned wallpaper may require two coats. Allow primer to cure completely.
Step 5: Paint the Wall

Apply your first coat of latex paint using a roller for large areas and a brush for edges. Maintain consistent coverage without overworking the paint.
Once dry, apply a second coat for even color and maximum durability. Remove painter’s tape while the final coat is slightly tacky.
Conclusion
Painting over wallpaper can be a smart, simplified process when done correctly, but it’s not a universal solution for every situation.
Success depends on careful evaluation of your wallpaper’s condition, proper preparation, and using the right materials, especially oil-based primer.
Remember that this approach works best as a long-term solution rather than a quick fix.
If you’re planning to sell your home soon or want maximum flexibility for future renovations, removal might be worth the extra effort.
The key to professional results lies in thorough preparation. Don’t rush the cleaning, repair, and priming steps; they’re what separate a lasting finish from a project you’ll regret.
When executed properly with quality materials, painted wallpaper can look indistinguishable from paint applied to bare walls.
Take your time, follow the steps, and you’ll achieve results that rival professional work.
Frequently Asked Questions
Can I use regular paint primer instead of oil-based primer?
No, water-based primers can reactivate wallpaper adhesive, causing bubbling and peeling. Always use oil-based or shellac primer.
Will wallpaper seams show through the paint?
Seams may be visible, especially with satin or semi-gloss finishes. Proper joint compound application minimizes this issue.
How long should I wait between primer and paint?
Allow oil-based primer to cure for 24 hours before painting for the best adhesion and durability results.
